从操作的角度来看,IP-Adapter和图生图是很相似的,都是有一个原始的图片,加上提示词,生成目标图片。但它们的底层实现方式是完全不一样的,我们通过源码解读来看一下。以下是ip adapter的实现方式
# 以下代码为程序运行进行设置,使用文生图的自动管道,
# 图生图实现使用的图生图的自动管道(见这里Diffusers代码学习-图生图)
import os
os.environ["HF_ENDPOINT"] = "https://hf-mirror.com"
from diffusers import AutoPipelineForText2Image
# 程序需要能够支持加载图片
from diffusers.utils import load_image
import torch
# 以下代码加载模型,但是用的是文生图的自动管道
pipeline = AutoPipelineForText2Image.from_pretrained("stabilityai/stable-diffusion-xl-base-1.0",
                                                     torch_dtype=torch.float16).to("cuda")
# 同时加载IP-Adapter模型
pipeline.load_ip_adapter("h94/IP-Adapter", subfolder="sdxl_models", weight_name="ip-adapter_sdxl.bin")
# 设置IP-Adapter影响力
pipeline.set_ip_adapter_scale(0.6)
# 以下代码加载图片
image = load_image(
    "https://hf-mirror.com/datasets/huggingface/documentation-images/resolve/main/diffusers/ip_adapter_diner.png")
generator = torch.Generator(device="cpu").manual_seed(0)
# 以下代码加载并处理提示词,基于原始图片,由提示词生成图片
images = pipeline(
prompt="a polar bear sitting in a chair drinking a milkshake",
ip_adapter_image=image,
negative_prompt="deformed, ugly, wrong proportion, low res, bad anatomy, worst quality, low quality",
num_inference_steps=100,
generator=generator,
).images
images[0].show()
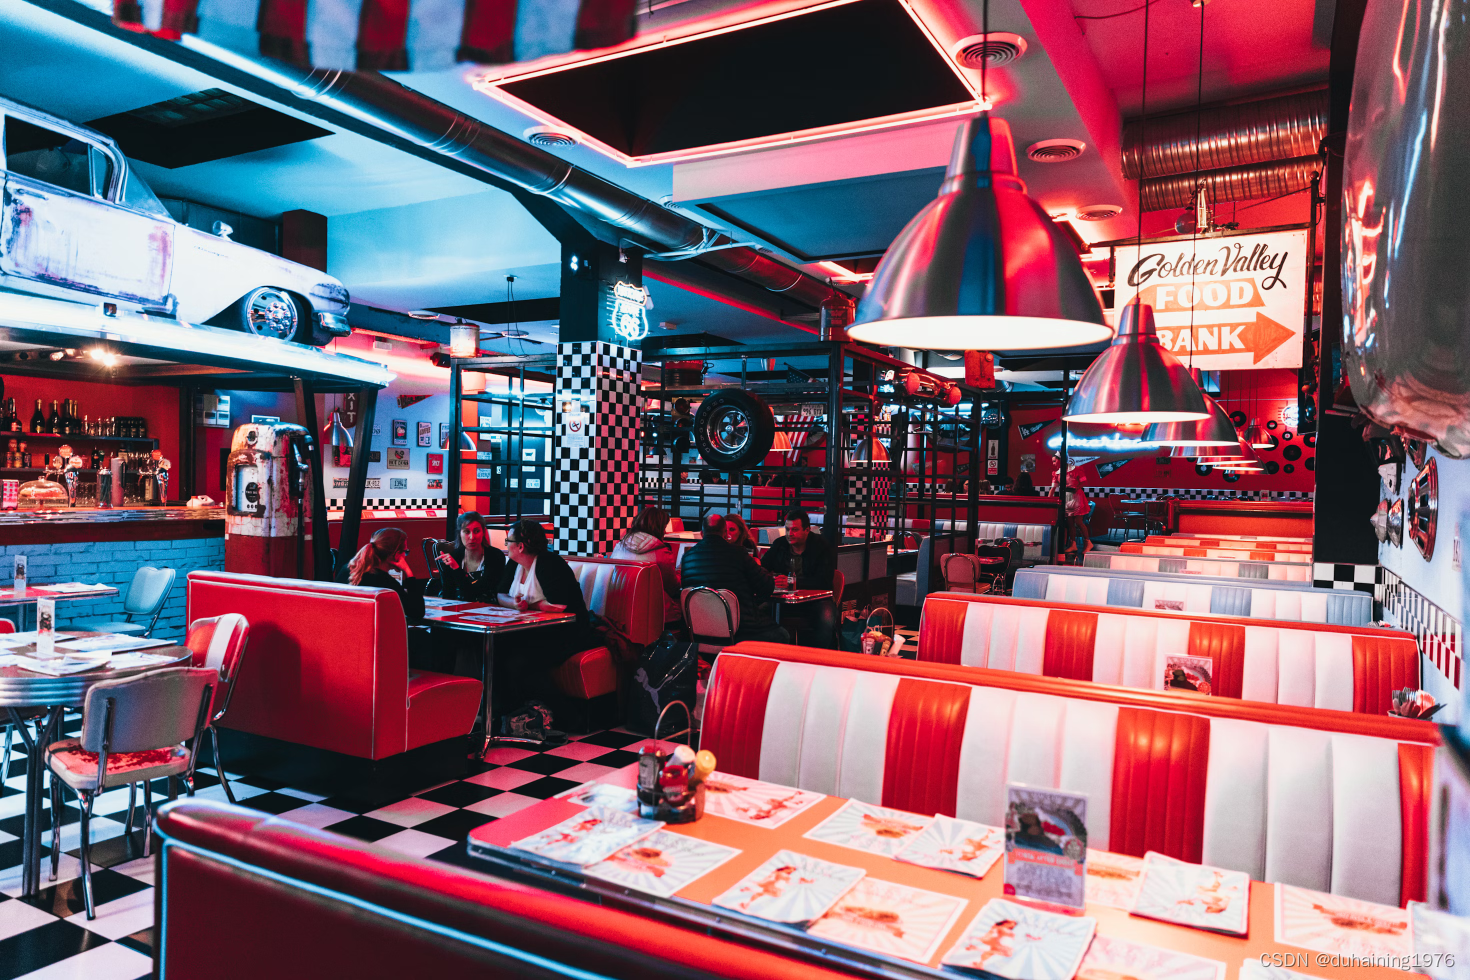
原图的效果是这样的
生成的图片效果则是这样的
本站资源均来自互联网,仅供研究学习,禁止违法使用和商用,产生法律纠纷本站概不负责!如果侵犯了您的权益请与我们联系!
转载请注明出处: 免费源码网-免费的源码资源网站 » Diffusers代码学习: IP-Adapter

发表评论 取消回复