unity仿真使用虚拟串口调试。下面为简单流程。
常用串口调试软件在这里下载。
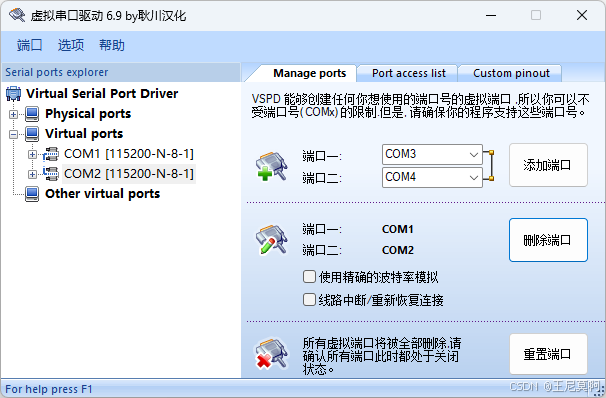
1.虚拟串口
添加虚拟串口,这里使用com1 com2
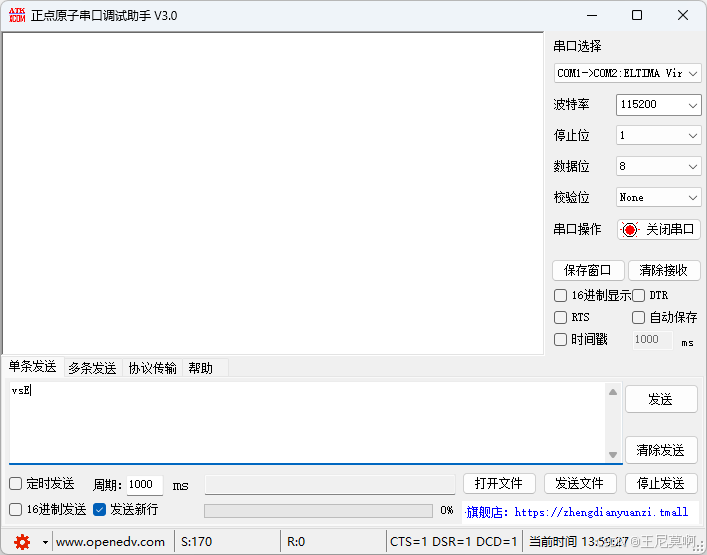
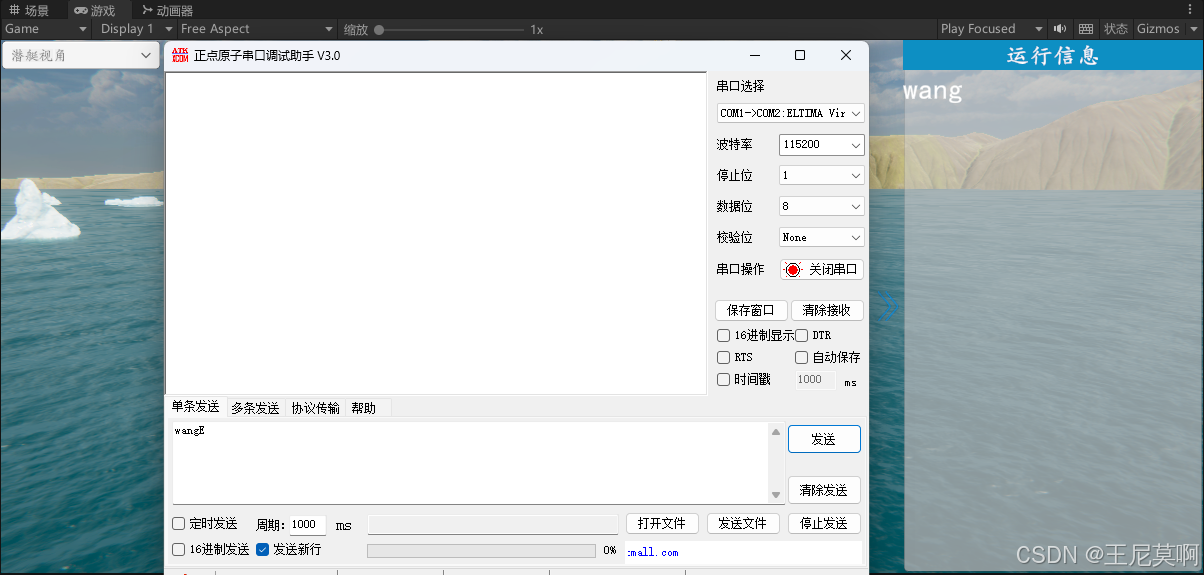
2. 串口调试
在这里为虚拟串口发送消息。
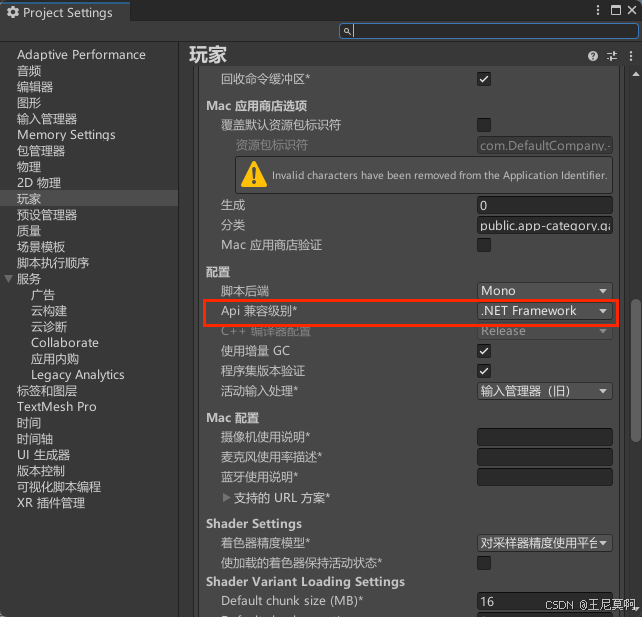
3. unity配置
3.1 设置
在文件->生成设置->玩家设置->玩家->其他设置 中找到 API兼容级别 选项,将其修改为.NET Framework
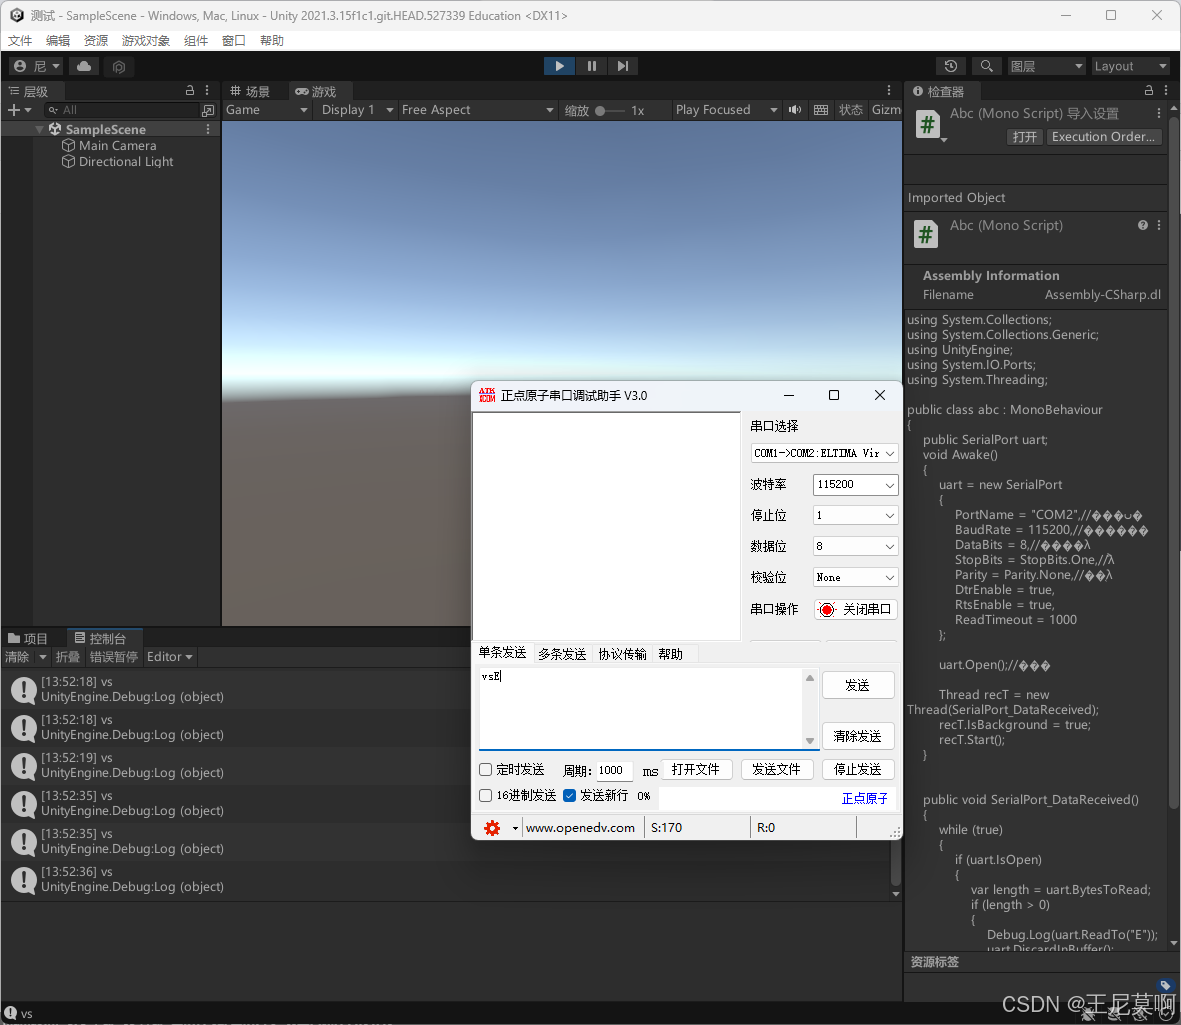
3.2 完整脚本代码
using System.Collections;
using System.Collections.Generic;
using UnityEngine;
using System.IO.Ports;
using System.Threading;

public class abc : MonoBehaviour
{
    public SerialPort uart;
    void Awake()
    {
        uart = new SerialPort
        {
            PortName = "COM2",//串口号
            BaudRate = 115200,//波特率
            DataBits = 8,//数据位
            StopBits = StopBits.One,//停止位
            Parity = Parity.None,//验证位
            DtrEnable = true,
            RtsEnable = true,
            ReadTimeout = 1000
        };

        uart.Open();//启动串口

        Thread recT = new Thread(SerialPort_DataReceived);
        recT.IsBackground = true;
        recT.Start();
    }


    public void SerialPort_DataReceived()
    {
        while (true)
        {
            if (uart.IsOpen)
            {
                var length = uart.BytesToRead;
                if (length > 0)
                {
                    Debug.Log(uart.ReadTo("E"));//指示读取操作停止的位置
                    uart.DiscardInBuffer();
                }
            }
        }
    }
}
4. 通信效果
将获取的串口信息添加到画布。
5.问题及解决
- 串口读取数据错误 IOException: 拒绝访问。
- 原因:
串口重复打开 - 解决方法:
检查占用COM2(这里以COM2为例)的程序,或者脚本,同一个脚本中的一个串口不可以同时多次调用。
本站资源均来自互联网,仅供研究学习,禁止违法使用和商用,产生法律纠纷本站概不负责!如果侵犯了您的权益请与我们联系!
转载请注明出处: 免费源码网-免费的源码资源网站 » 【unity笔记】九、Unity添加串口通信

发表评论 取消回复