在vue中安装openlayers
npm i --save ol
这里说的vue是基于脚手架构建的。 新建个页面,也就是vue文件,配置好路由。接着 就是可以直接放入我的代码运行显示了。
vue利用openlayers加载天地图和高德地图
<template>
  <div class="wrapper">
    <div>天地图</div>
    <div class="map" id="olMap"></div>
  </div>
</template>
<script>
import "ol/ol.css";
import {
  Tile as TileLayer } from "ol/layer";
import XYZ from "ol/source/XYZ";
import {
  defaults as defaultControls } from "ol/control";
import Map from "ol/Map.js";
import View from "ol/View.js";
export default {
  data() {
   return {
      map: null,
      parser: null,
    };
  },
  mounted() {
    this.initMap();
  },
  methods: {
    initMap() {
     const map = new Map({
       target: "olMap",
        view: new View({

          center: [0, 0], //中心点经纬度
          zoom: 4, //图层缩放大小
          projection: "EPSG:4326",
        }),
        controls: defaultControls({
          zoom: true,
          attribution: false,
          rotate: false,
        }),
      });
      this.map = map;
      // 添加地图
      let url = "http://t{0-7}.tianditu.com/DataServer?x={x}&y={y}&l={z}";
      url = `${
   url}&T=vec_c&tk=替代你的key`;
      const source = new XYZ({
     url: url,
        projection: "EPSG:4326",
      });
      const tdtLayer = new TileLayer({
        source: source,
      });
      this.map.addLayer(tdtLayer);
      // 添加注记
      url = "http://t{0-7}.tianditu.com/DataServer?x={x}&y={y}&l={z}";
      url = `${
   url}&T=cva_c&tk=替代你的key`;
      const sourceCVA = new XYZ({
        url: url,
        projection: "EPSG:4326",
      });
      const tdtcvaLayer = new TileLayer({
        source: sourceCVA,
      });
      this.map.addLayer(tdtcvaLayer);
    },
  },
};
</script>
<style scoped>
.map {
  width: 100%;
  height: 100vh;
}
</style>
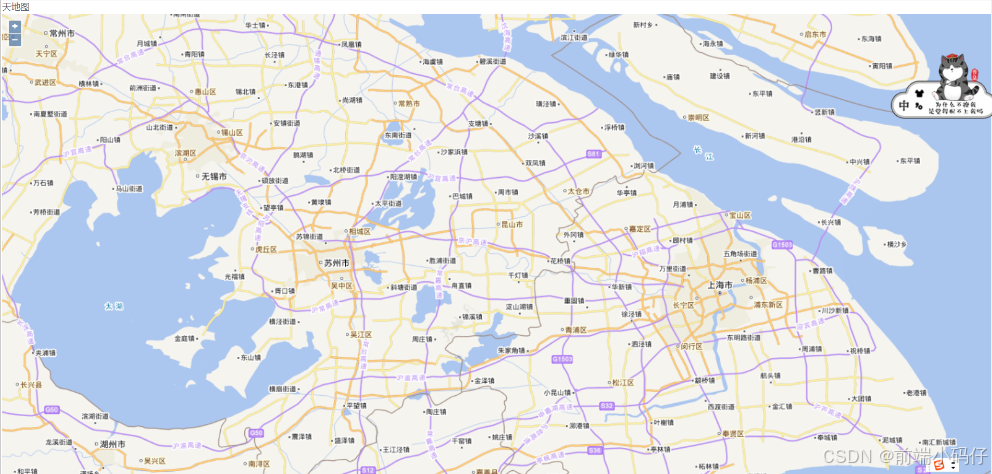
天地图就可以显示出来了。
本站资源均来自互联网,仅供研究学习,禁止违法使用和商用,产生法律纠纷本站概不负责!如果侵犯了您的权益请与我们联系!
转载请注明出处: 免费源码网-免费的源码资源网站 » Openlayer - vue中加载天地图(入门篇)

发表评论 取消回复