1. 概述
在之前的文章中介绍过SpringBoot集成OAuth2老版本的方案SpringCloud搭建微服务之OAuth2实现SSO单点登录,随着Spring Authorization Server框架的成熟和SpringBoot版本的更新,新项目必然会采用新的技术和框架,本文将使用最新的SpringBoot版本和JDK17实现SSO单点登录,本文包括三个微服务,一个认证中心,两个客户端
2. 搭建Spring Authorization Server认证中心
认证中心的搭建可以参考SpringBoot3集成Spring Authorization Server搭建服务认证中心,不同的是在application.yml中需要配置两个客户端的信息,具体配置如下:
server:
  port: 9000

spring:
  security:
    oauth2:
      authorizationserver:
        issuer: http://localhost:9000
        client:
          sso-login-client-1:
            registration:
              client-id: sso-login-client-1
              client-secret: '{noop}openid-connect-1'
              client-name: Spring SSO Login Client 1
              client-authentication-methods:
                - client_secret_basic
              authorization-grant-types:
                - authorization_code
                - refresh_token
              redirect-uris:
                - http://127.0.0.1:8081/login/oauth2/code/sso-login-client-1
                - http://127.0.0.1:8081/authorized
              scopes:
                - openid
                - profile
            require-authorization-consent: true
          sso-login-client-2:
            registration:
              client-id: sso-login-client-2
              client-secret: '{noop}openid-connect-2'
              client-name: Spring SSO Login Client 2
              client-authentication-methods:
                - client_secret_basic
              authorization-grant-types:
                - authorization_code
                - refresh_token
              redirect-uris:
                - http://127.0.0.1:8082/login/oauth2/code/sso-login-client-2
                - http://127.0.0.1:8082/authorized
              scopes:
                - openid
                - profile
            require-authorization-consent: true
3. 搭建客户端服务
3.1. 引入核心依赖
<dependency>
    <groupId>org.springframework.boot</groupId>
    <artifactId>spring-boot-starter-web</artifactId>
</dependency>
<dependency>
    <groupId>org.springframework.boot</groupId>
    <artifactId>spring-boot-starter-security</artifactId>
</dependency>
<dependency>
    <groupId>org.springframework.boot</groupId>
    <artifactId>spring-boot-starter-oauth2-client</artifactId>
</dependency>
<dependency>
    <groupId>org.springframework.boot</groupId>
    <artifactId>spring-boot-starter-thymeleaf</artifactId>
</dependency>
3.2. 编写application.yml
server:
  port: 8081
spring:
  thymeleaf:
    cache: false
  security:
    oauth2:
      client:
        registration:
          sso-login-client-1:
            provider: spring
            client-id: sso-login-client-1
            client-secret: openid-connect-1
            client-authentication-method: client_secret_basic
            authorization-grant-type: authorization_code
            redirect-uri: http://127.0.0.1:8081/login/oauth2/code/sso-login-client-1
            scope:
              - openid
              - profile
            client-name: Spring SSO Login Client 1
        provider:
          spring:
            authorization-uri: http://localhost:9000/oauth2/authorize
            token-uri: http://localhost:9000/oauth2/token
            jwk-set-uri: http://localhost:9000/oauth2/jwks
客户端2的application.yml配置文件如下:
server:
  port: 8082
spring:
  thymeleaf:
    cache: false
  security:
    oauth2:
      client:
        registration:
          sso-login-client-2:
            provider: spring
            client-id: sso-login-client-2
            client-secret: openid-connect-2
            client-authentication-method: client_secret_basic
            authorization-grant-type: authorization_code
            redirect-uri: http://127.0.0.1:8082/login/oauth2/code/sso-login-client-2
            scope:
              - openid
              - profile
            client-name: Spring SSO Login Client 2
        provider:
          spring:
            authorization-uri: http://localhost:9000/oauth2/authorize
            token-uri: http://localhost:9000/oauth2/token
            jwk-set-uri: http://localhost:9000/oauth2/jwks
3.3. 编写Controller
编写一个接口获取用户信息用于登录成功后页面显示,具体代码如下
@Controller
public class LoginClientController {

    @GetMapping(value = "/")
    public String index(Model model, @RegisteredOAuth2AuthorizedClient OAuth2AuthorizedClient authorizedClient, @AuthenticationPrincipal OAuth2User oAuth2User) {
        model.addAttribute("userName", oAuth2User.getName());
        model.addAttribute("clientName", authorizedClient.getClientRegistration().getClientName());
        model.addAttribute("userAttributes", oAuth2User.getAttributes());
        return "index";
    }
}
3.4. 编写Filter
@Component
@Order(Ordered.HIGHEST_PRECEDENCE)
public class LoopbackIpRedirectFilter extends OncePerRequestFilter {

    @Override
    protected void doFilterInternal(HttpServletRequest request, HttpServletResponse response, FilterChain filterChain) throws ServletException, IOException {
        if (request.getServerName().equals("localhost") && request.getHeader("host") != null) {
            HttpRequest httpRequest = new ServletServerHttpRequest(request);
            UriComponents uri = ForwardedHeaderUtils.adaptFromForwardedHeaders(httpRequest.getURI(), httpRequest.getHeaders()).host("127.0.0.1").build();
            response.sendRedirect(uri.toUriString());
            return;
        }
        filterChain.doFilter(request, response);
    }
}
3.5. 编写登录成功后页面
<!DOCTYPE html>
<html xmlns="http://www.w3.org/1999/xhtml" xmlns:th="https://www.thymeleaf.org" xmlns:sec="https://www.thymeleaf.org/thymeleaf-extras-springsecurity5">
<head>
<title>Spring Security - OAuth 2.0 Login</title>
<meta charset="utf-8" />
</head>
<body>
<div style="float: right" th:fragment="logout" sec:authorize="isAuthenticated()">
<div style="float:left">
<span style="font-weight:bold">User: </span><span sec:authentication="name"></span>
</div>
<div style="float:none"> </div>
<div style="float:right">
<form action="#" th:action="@{/logout}" method="post">
<input type="submit" value="Logout" />
</form>
</div>
</div>
<h1>OAuth 2.0 Login with Spring Security</h1>
<div>
You are successfully logged in <span style="font-weight:bold" th:text="${userName}"></span>
via the OAuth 2.0 Client <span style="font-weight:bold" th:text="${clientName}"></span>
</div>
<div> </div>
<div>
<span style="font-weight:bold">User Attributes:</span>
<ul>
<li th:each="userAttribute : ${userAttributes}">
<span style="font-weight:bold" th:text="${userAttribute.key}"></span>: <span th:text="${userAttribute.value}"></span>
</li>
</ul>
</div>
</body>
</html>
4. 测试验证
依次启动认证中心和两个客户端
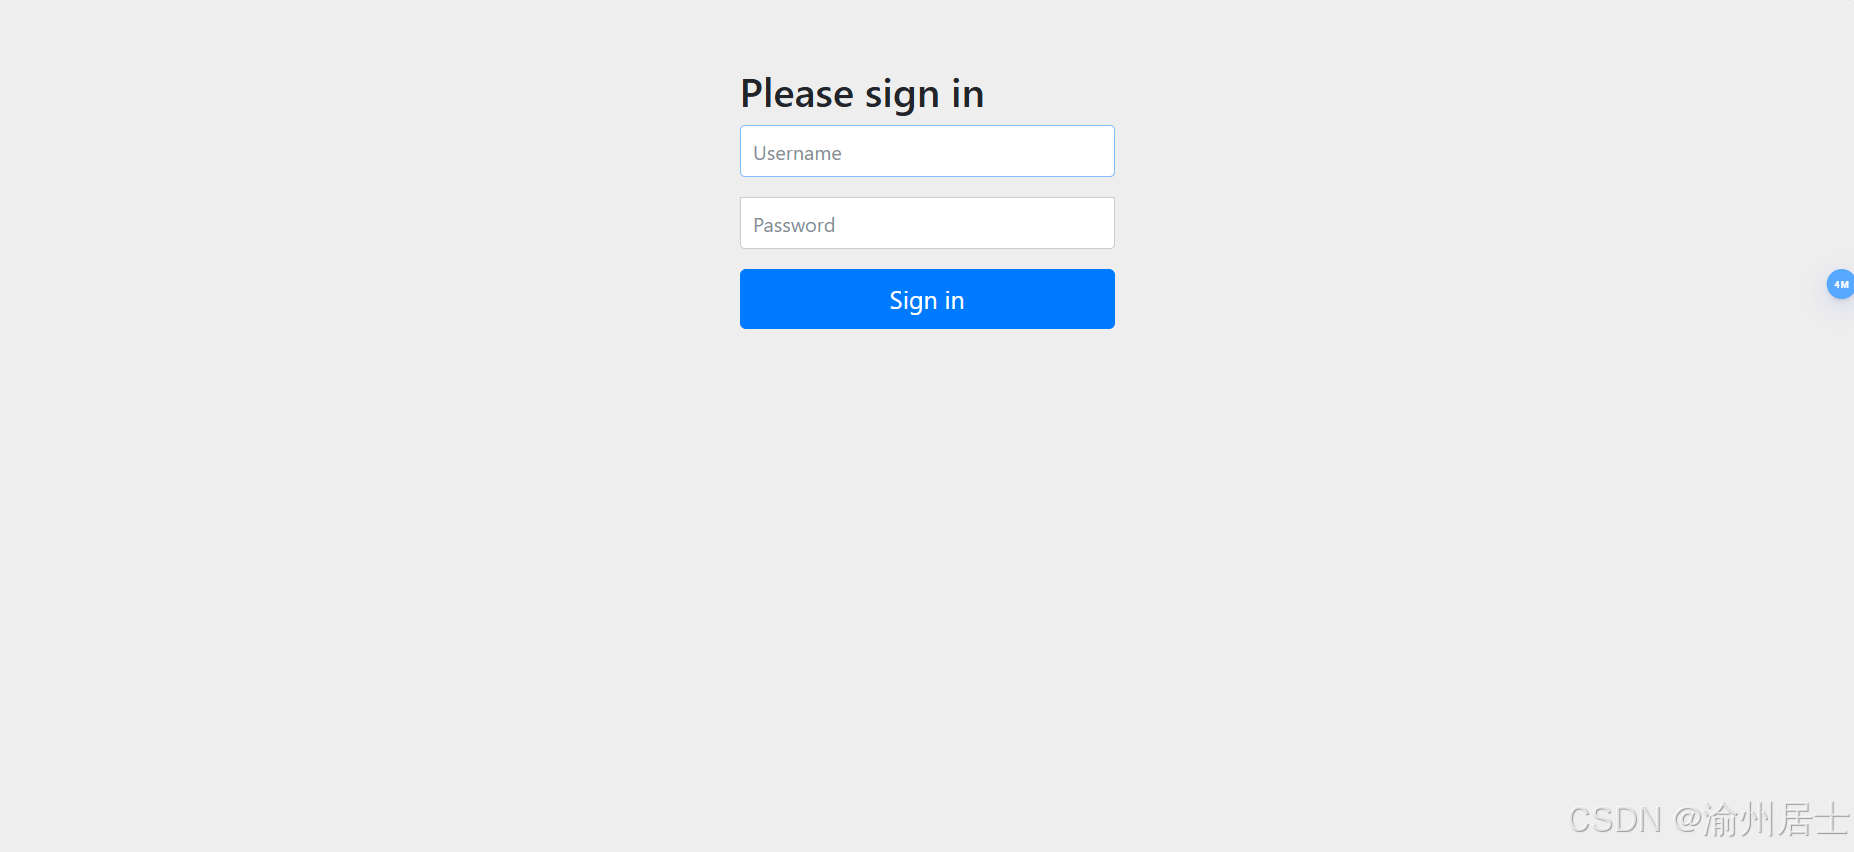
在浏览器输入http://127.0.0.1:8081/,在登录界面输入用户名和密码admin/123456
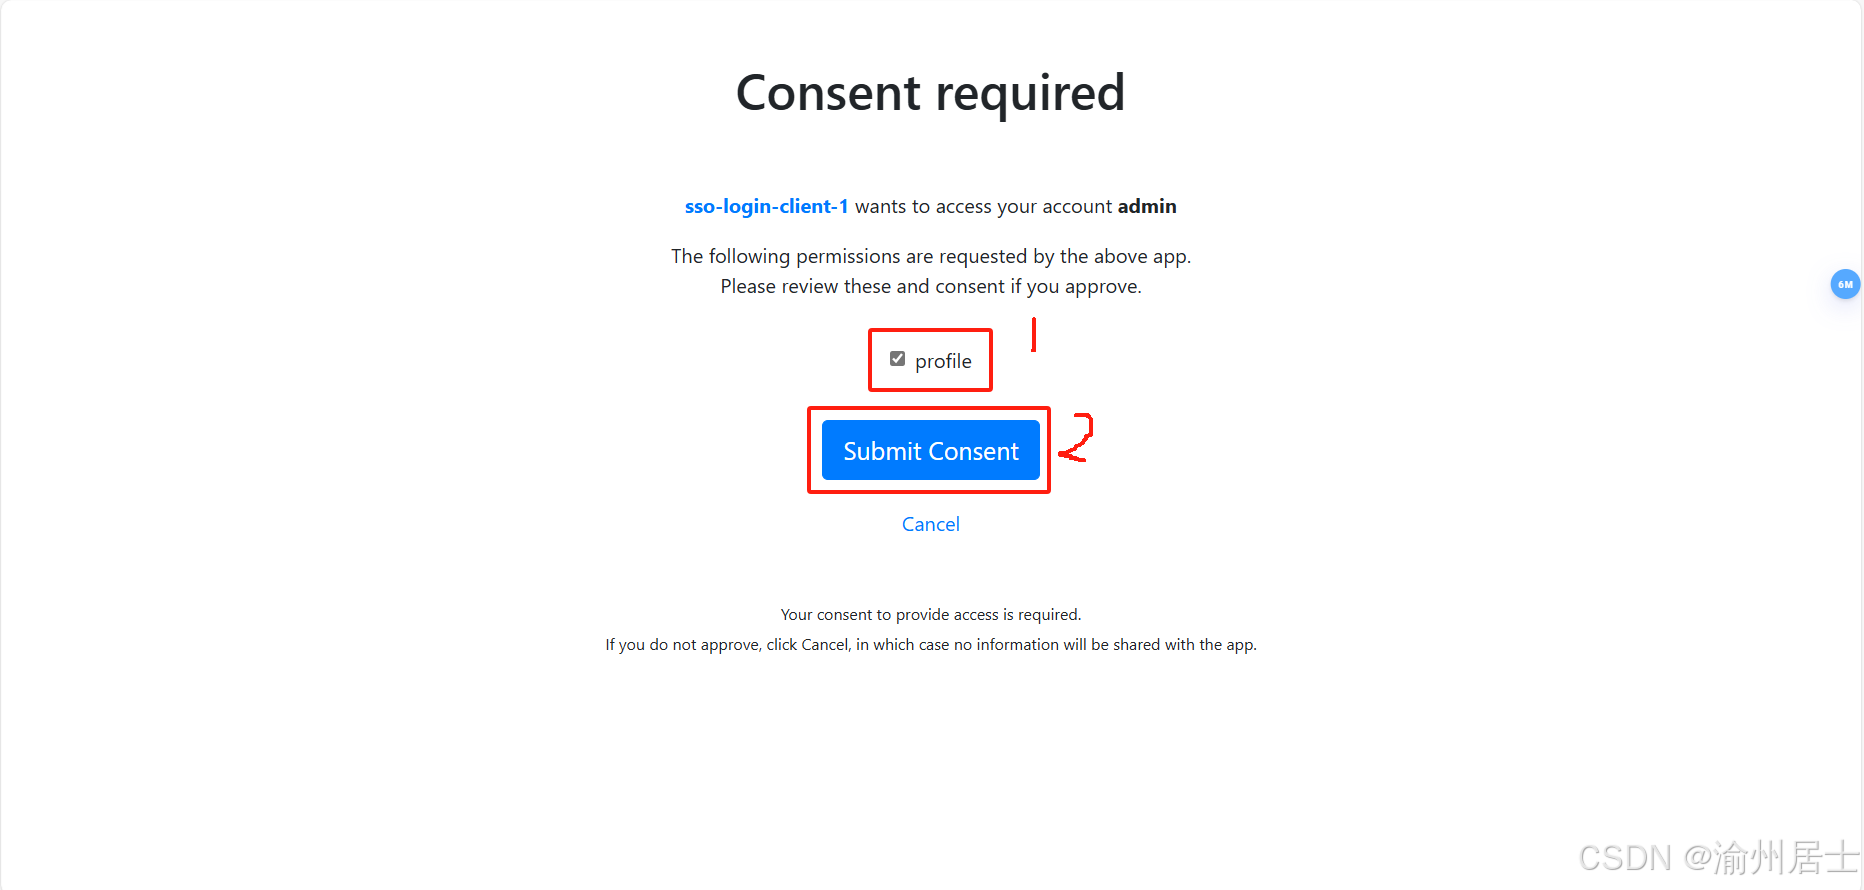
登录后,勾选profile,点击Submit Consent
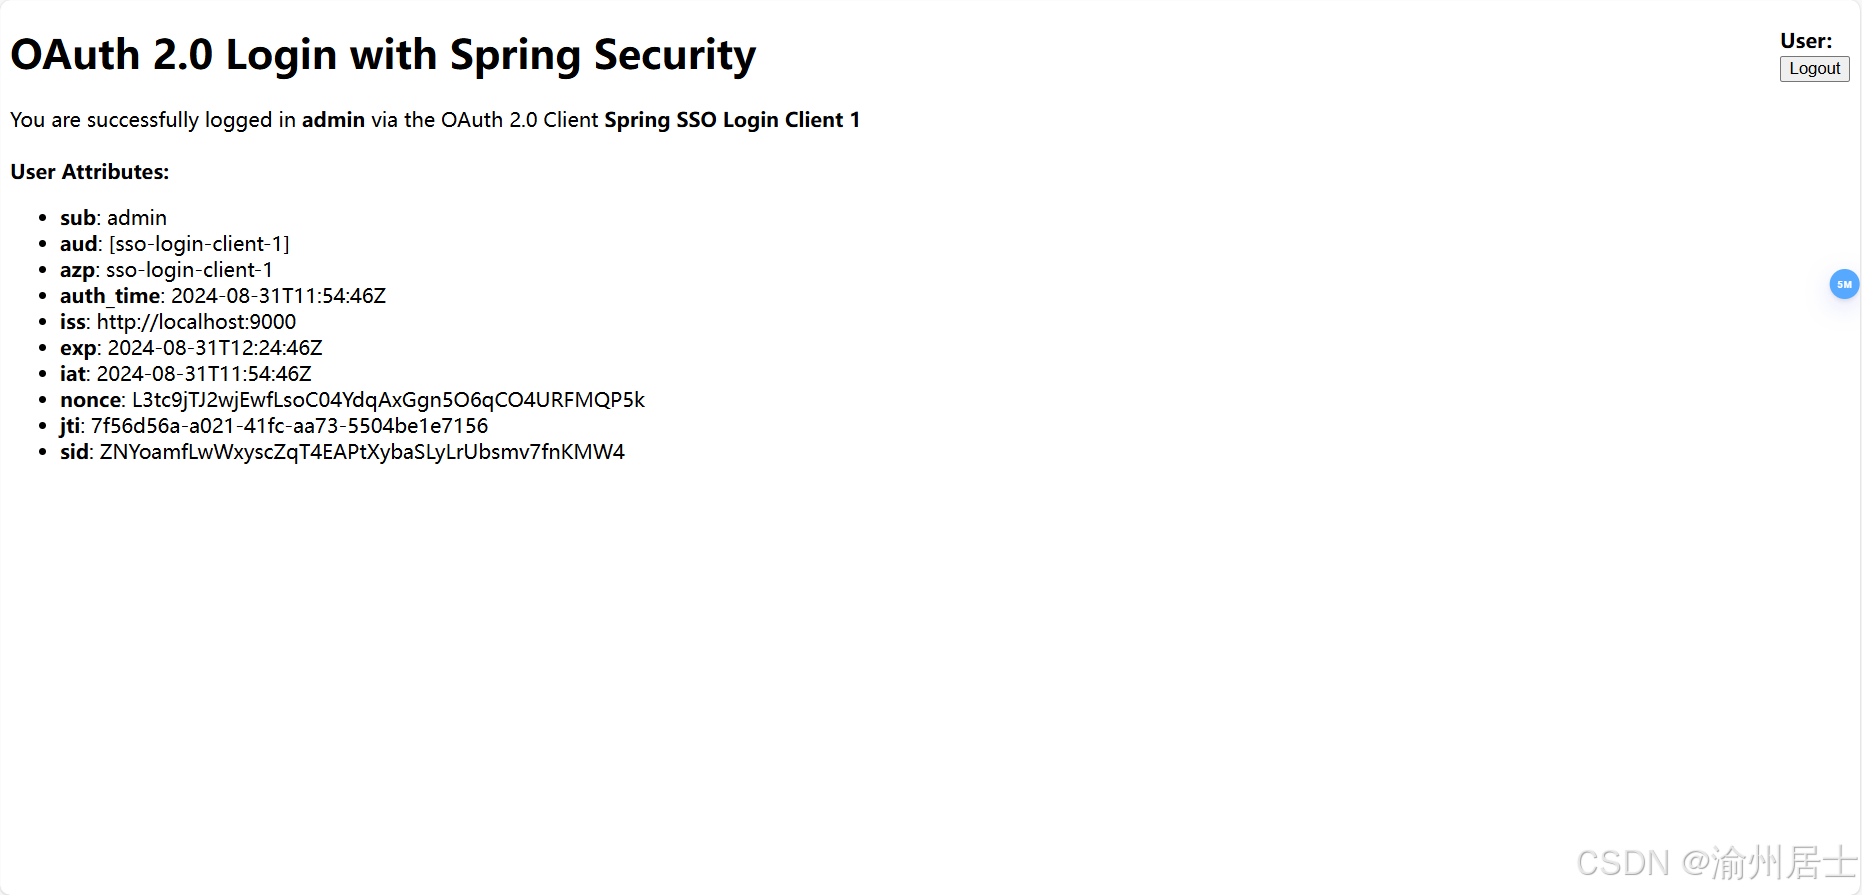
授权成功后,进入client1页面
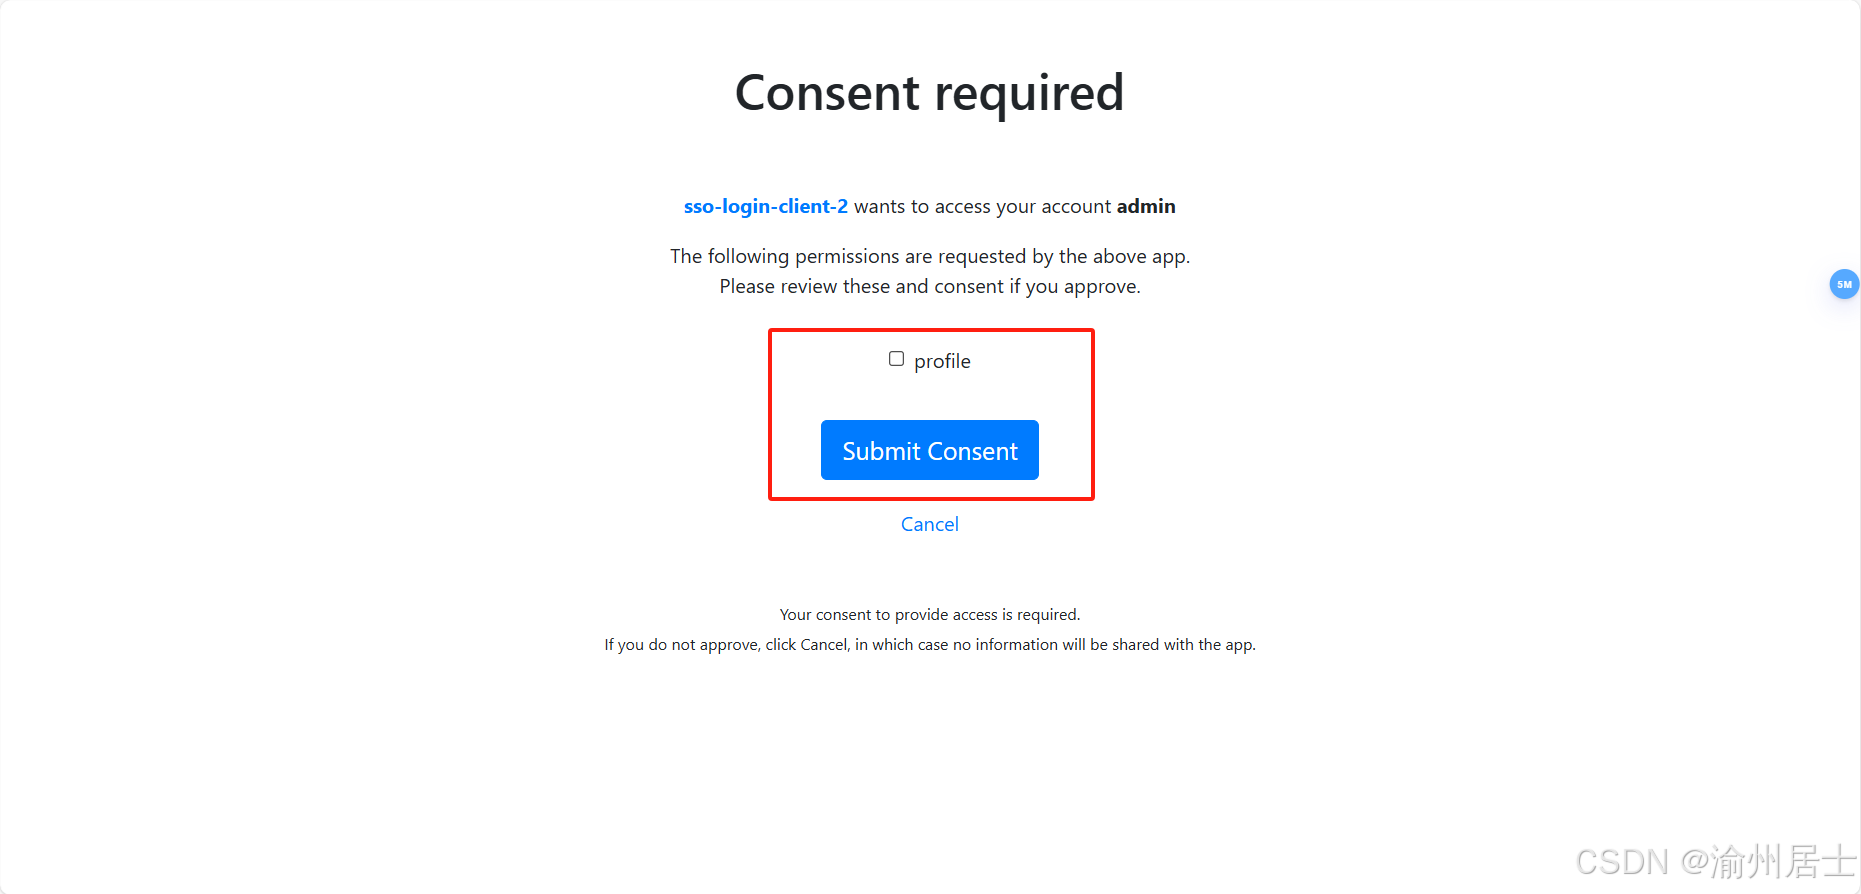
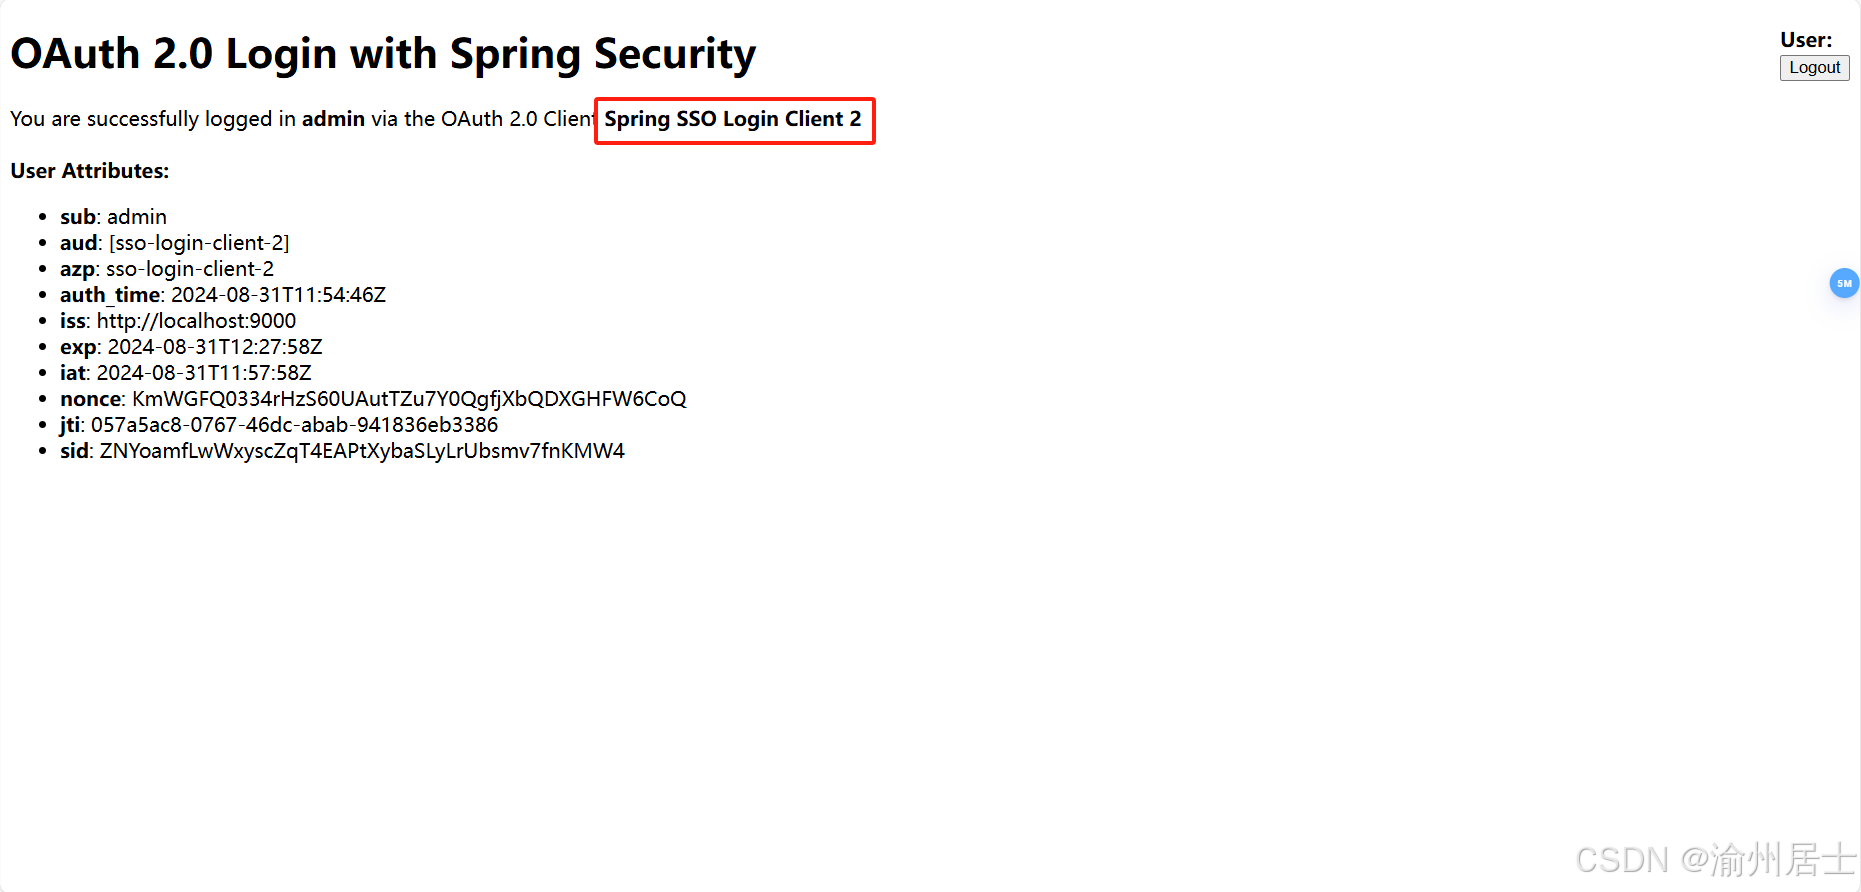
在浏览器输入http://127.0.0.1:8082/,会直接跳转到认证界面
授权后,直接进入client2页面
本站资源均来自互联网,仅供研究学习,禁止违法使用和商用,产生法律纠纷本站概不负责!如果侵犯了您的权益请与我们联系!
转载请注明出处: 免费源码网-免费的源码资源网站 » SpringBoot3集成Spring Authorization Server实现SSO单点登录

发表评论 取消回复